
How To Make Resin Waves

How to make resin waves is an easy tutorial for beginners.
It's easy to follow the steps below or watch the video on YouTube on "How To Make Resin Waves."
What You’ll Need
Art Resin
Pigments; Candy Blue and Titanium White (Just Resin)
Wooden Panel
Blow torch
Heat gun
Painters tape
Stands (Plastic cups or painters pyramid stands)
Mixing Cups (plastic or silicon)
Stirring Sticks (plastic/silicon/wooden craft sticks)
Tooth Pick
Nitrile gloves
Face Mask/Respirator
Plastic drop sheet
Cardboard box/plastic tub (Dust cover)
Sandpaper (80 grit)
1. Prepare Your Surface
Apply blue painter's tape around the edges of your board to help protect them from drips.
2. Mix Resin And Pigments
I always use high-quality resin. Today, I'm using Art Resin because it has excellent non-yellowing properties, and it's non-toxic, so I don't need to wear my mask if I'm working in a well-ventilated area. I have my windows open, and the heater turned on.
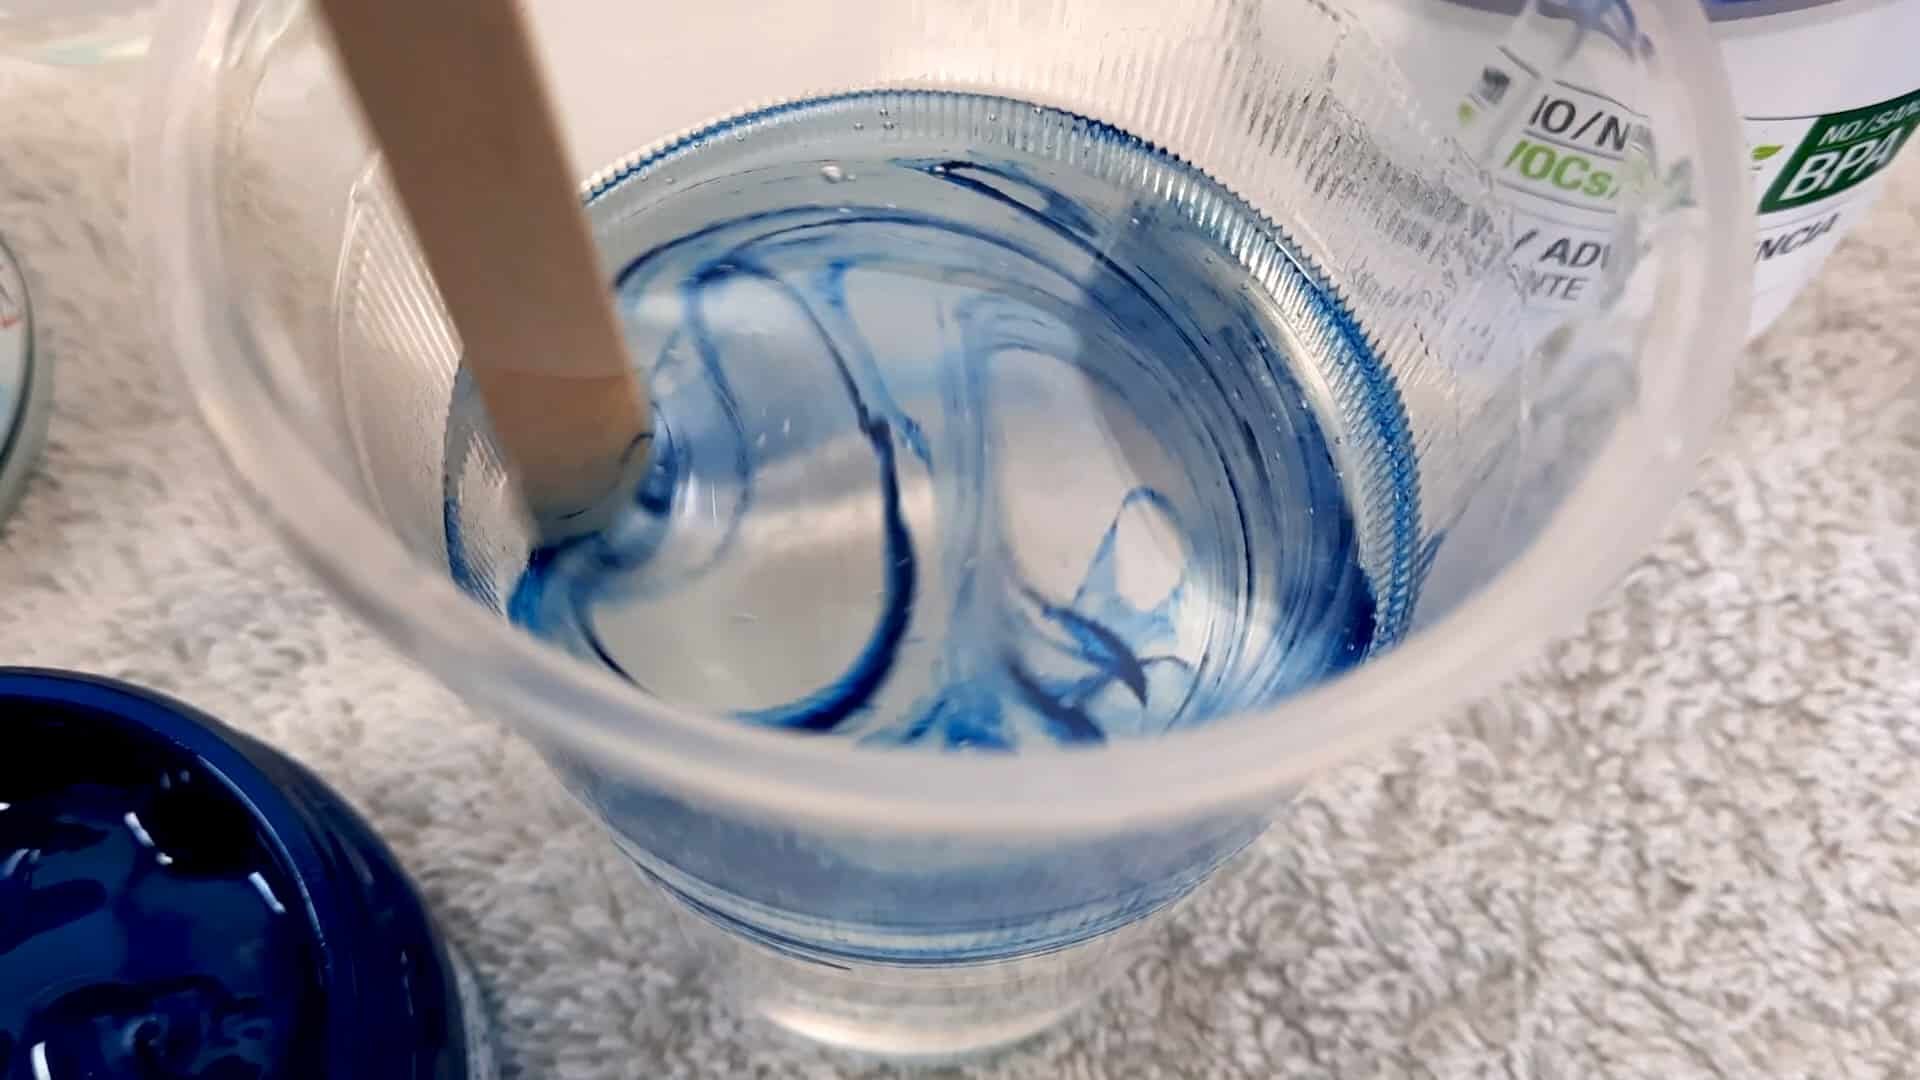
Mix two shades of blue, dark, and light. I used Candy Blue for the dark blue and mixed some Titanium White into the Candy Blue for the lighter blue. Mix Titanium White.

Pour equal parts of Art Resin
Mix two shades of blue, dark, and light. I used Candy Blue for the dark blue and mixed some Titanium White into the Candy Blue for the lighter blue. Mix Titanium White.
Mix coloured pigments into Art Resin
3. First Layer
Pour a line of clear resin first and then, pour the two blues. Blend the colours. Don't worry. It doesn't need to be perfect for the first layer. Pass over it with a blow torch to pop any bubbles.
I'm working on a Birchwood panel today. I get asked a lot if I seal my wood before pouring the resin on. The answer is, no, I don't. I find that these panels are okay without sealing them first. Sometimes I get tiny little bubbles, which can be an issue if you don't seal the wood first. There were a few small clusters of the bubbles, but it didn't matter because I would be painting a second layer over the top. So the bubbles are covered up anyway.

Pour the resin onto the wood panel
4. First Resin Wave
Let the white sit in the cup to thicken for about 10 mins before pouring. To help create a thick 3D wave. Pour the white in a nice straight line over the very edge of the clear resin. If you move too slowly, the line will be wonky.

Pour a line of white pigment
5. Blow Out The First Resin Wave
Let the magic happen. Grab your heat gun and turn the fan speed on high and the heat to a medium/high setting. Keep your heat gun at an angle and aim it at the start of the wave. Slowly blow the white along. Be sure not to stay in one spot for too long because it can burn your resin.

Blow the white pigment with a heat gun
When you have completed blowing out the white, pass over it with a blow torch. The heat from the torch will activate the lacing.

6. Second Layer
So I let this first layer dry overnight. And then, I sanded it back in the area where I am applying the second layer. This way, it created a texture for the resin to stick. I was using 80 grit sandpaper.
After mixing my pigments (the same colours in the first layer), I let the cups sit for about 15 minutes before I poured this layer. That way, it was thick enough, so it wouldn’t run down and cover the first wave.
Pour a clear line of resin first and then the two blues. Gently blend.

Pour a line of clear resin first

Pour the pigments and blend
7. Second Resin Wave
Let the white sit for about another 10 minutes to get that 3D look. Now pour a thick line of white over the edge of the clear resin.
I applied quite a lot of white. It’s a very thick line because my goal is to spread and move that white to the very end and top of that wooden panel.

8. Blow Out The Second Resin Wave
Use the same technique as the first wave. Turn your heat gun fan speed on high and the heat to a medium/high setting. Keep your heat gun at an angle and aim it at the start of the wave. Slowly blow the white along.
I’m using this heat gun for the compressor nozzle, and it also has a fan speed setting, so I can set it too high because I need it to blow quite strong to push it that far upward.
I’ll keep going over it until I can break up that white at the bottom. It was really thick and a bit hard to move. And I’m also going to tilt my board backward so that it also runs in that direction. I don’t want that line to extend any further, closer to my first wave.

Blow out the second wave using a heat gun
9. Finishing It Off
I will then pass over it with a blowtorch to bring out the lacing and cells. The heat helps to activate all that beautiful lacing.
And of course, a little toothpick, there’s always dust.
Cover the artwork with a cardboard box or plastic tub. The dust cover protects the painting from dust while curing.

Pick out dust with a toothpick
10. Removing The Tape
The following day when the resin is hard, I peel off the tape from the edges. Three days later, once fully cured, paint the edges with white acrylic paint.

Remove the blue painter’s tape after 24 hours
How To Make Resin Waves Tutorial Is Complete!
That completes this tutorial on, How To Make Resin Waves. I hope you like it? Need more guidance? I recommend watching the YouTube Video.
If you’ve got any questions, I’m happy to answer them. Thank you so much for reading!
Get a FREE eBook on my Resin Ocean Art Tools & Materials. Get it HERE
Keep Creating!
Michelle Tracey